THE BENEFITS
|
THE BENEFITS |
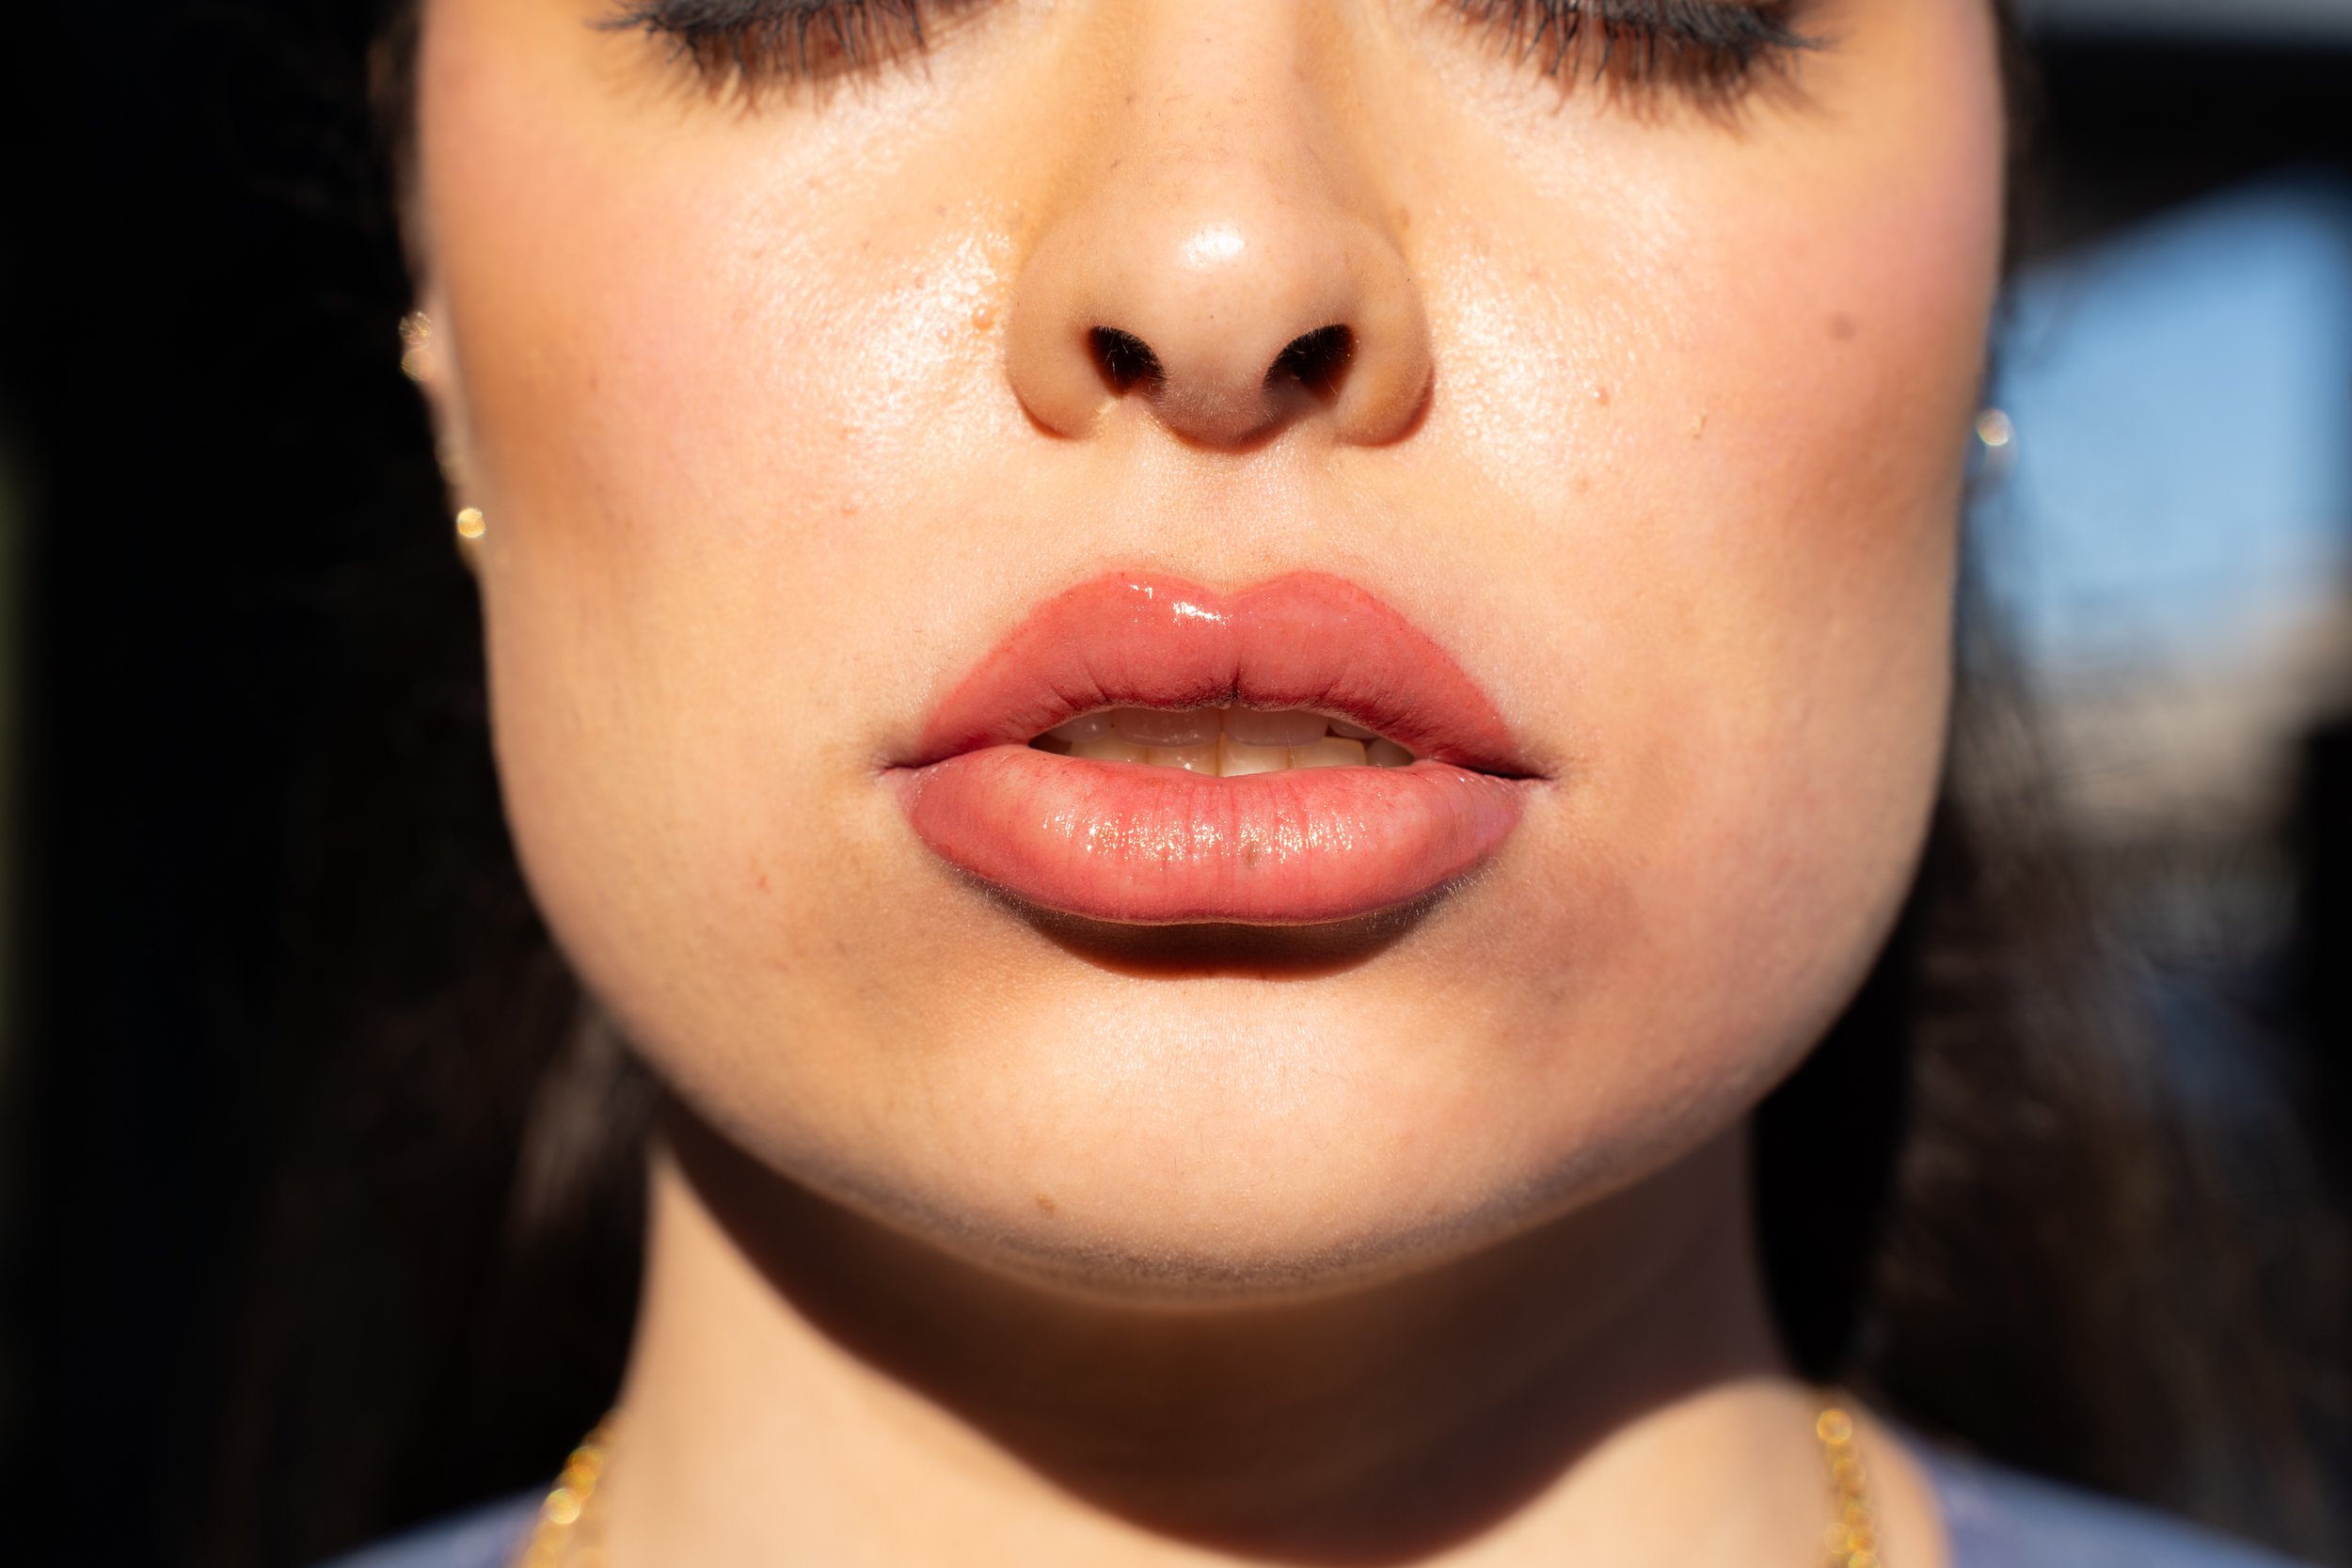
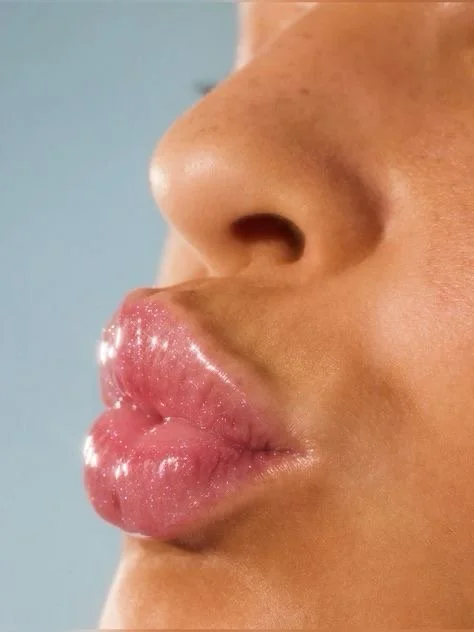
Benefits of Lip Blush
Lip blush is the perfect solution for those looking to enhance their lips with natural, long-lasting results. This semi-permanent procedure not only adds a beautiful, custom tint to your lips but also defines their shape, creating a fuller, more youthful appearance. The soft, natural color and defined lip line can make lips appear bigger and more plump, offering a subtle, non-invasive enhancement. Say goodbye to daily lipstick application—lip blush is waterproof, smudge-proof, and can last 2-5 years, saving you time and effort. It can also help correct asymmetry and minimize the appearance of fine lines, giving you smoother, more hydrated lips. Whether you want a soft, natural flush or a more defined look, lip blush offers a personalized solution that complements your unique features, boosting confidence and enhancing your beauty with minimal maintenance.
THE HEALING PROCESS
|
THE HEALING PROCESS |
healing SCHEDULE
DAY 1
Immediately following the procedure, lips will feel dry, chapped, tight and tender to the touch. Swelling may occur. Lips will appear a bright color and will fade over time. Important to keep lips clean and moisturized. No kissing, rubbing, or friction on treated area.
DAy 2-3
Apply ointment on lips several times a day. Keep lips hydrated at all times. Avoid oily, spicy, and heavily seasoned foods and drink with a straw. After every meal gently rinse and clean lips with water and pat dry, then immediately apply ointment.
DAY 4-7
Between these days, lips will begin and end the process of peeling. Color will lighten by 30% - 50%. Let dead skin naturally fall off, do not pick or rub lips. Continue keeping lips moist with ointment.
WEEK 2
Lips are done peeling, color has lightened. You may return to normal routines. Lips will continue to heal, up to 6 weeks. Every week more color will surface, it is important to continue keeping lips moist to get the best color at the end of the healing process.
WEEK 6-8
You did it!! Your lips are healed and you are ready for your touch up appointment.
YOUR VISIT
|
YOUR VISIT |
WHAT TO EXPECT DURING YOUR VISIT:
STEP BY STEP:
-
During this 10-15 minute consultation, we’ll discuss your color and shape goals. If you have any inspiration photos (recommended), we’ll review them in detail. I’ll also take time to familiarize myself with your natural lip shape, color, and skin tone to ensure we choose a color that complements you perfectly. I’ll answer any questions or concerns you have thoroughly to guarantee you feel both physically and mentally comfortable throughout the process.
This consultation time is included in the overall service time, which typically lasts between 3.5 to 4 hours.
-
Your comfort is my top priority, and I want you to have an enjoyable experience. To start, I’ll apply numbing cream and have you lie down comfortably in the chair. This first round of numbing will take about 15 minutes to allow your body time to fully absorb the numbing agent, ensuring a painless experience. During this time, I’ll mix the perfect custom color for you! Please note, the color may differ slightly from the inspiration photos as I adjust for the natural healing process to ensure the final color matches your desired look.
-
Next, I’ll cleanse your lips with a gentle green soap specifically made for tattooing. I will then map out your lip shape with concealer while you remain reclined in the chair. Using the information you provided during the consultation, I’ll craft a shape that is tailored to your face, aiming to enhance volume and definition.
Please note: Lip blush is not a substitute for lip fillers, but it will create the illusion of fuller, more defined lips. I cannot tattoo outside of your natural lip border, so the shape we create will stay within your natural lip contours.
This step is one of the most important because it serves as the blueprint for the entire procedure. Pre-drawing may take anywhere from 40 minutes to an hour, depending on your individual features. Once I’m happy with the shape, I’ll show you a mirror so you can closely examine the design. I’ll ask you to softly smile and speak so I can assess your lips from various angles. Once you love the shape, we’ll move on to the tattooing process.
-
Now we’ll begin tattooing the outline. I’ll carefully trace over the pre-drawn concealer with a very small needle. I move at a slow pace to make certain the outline is smooth, even, and precise. I’ll check in with you frequently during this process to make sure you’re comfortable.
-
Once the outline is complete, I’ll apply another round of numbing cream. This session will take about 2-3 minutes and ensures your lips remain comfortable during the shading process.
-
Once the numbing cream is wiped off, we’ll begin the first round of shading. This step is often so painless that some clients even fall asleep in the chair! I’ll work in small sections, depositing pigment evenly to create a soft, airbrushed effect on your lips.
-
After the first round of shading, I’ll apply another quick 2-3 minute numbing session to keep you comfortable throughout the process.
-
The second round of shading is similar to the first, where I’ll work in small sections to ensure the pigment is evenly distributed and blends seamlessly for a flawless, natural look.
-
Before the final round of shading, I’ll apply the last round of numbing cream for 2-3 minutes to keep you relaxed and pain-free.
-
This is the final round of shading, where I’ll go over your entire lip area to ensure an even, beautiful result. Once the tattooing is complete, I’ll touch up any areas as needed. Your new lips are now ready to be revealed!
You’ll be sent home with some aftercare ointment and detailed instructions on how to care for your lips during the healing process.
-
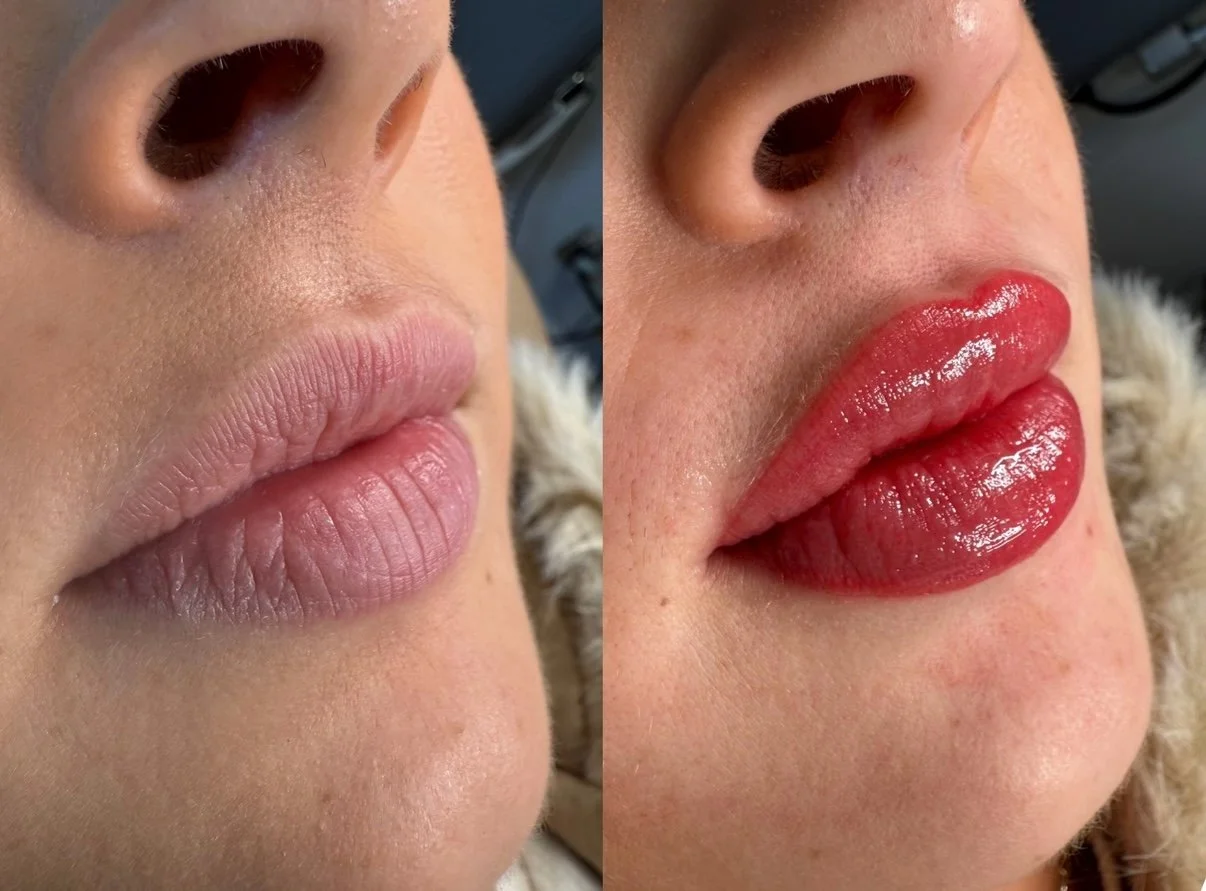
While not mandatory, before and after photos are highly appreciated! They help me grow my business, and they also provide new clients with a better understanding of what to expect. Thank you so much for reading—I can’t wait to have you in my chair!
PRE & POST CARE
|
PRE & POST CARE |
Who Cannot Get Lip Blush
This procedure is not suitable for clients with active cold sores, pregnant clients, clients actively on Accutane, or anyone who has had lip filler in the past 3 weeks.
Cold Sores
If you're prone to cold sores, consult your doctor about taking an antiviral medication like Valtrex before your appointment. Over-the-counter options like L-lysine can also help, but be sure to follow your doctor’s guidance on usage.
By following these simple steps, you can help ensure a successful lip blush experience with beautiful, long-lasting results.
Lip Blush Pre-Care and Restrictions
To ensure the best results for your lip blush procedure, proper preparation is key.
Pre-Care Guidelines
Avoid caffeine, blood thinners, and alcohol for at least 24 hours before your appointment. These can affect your sensitivity, healing, and pigment retention. If you’ve had lip filler, please wait at least 3 weeks before scheduling your lip blush session to allow the filler to settle. It’s also recommended to eat before your appointment, as the procedure takes about 3-4 hours. Hydrate your lips beforehand for smoother application and better healing.
LIP BLUSH POST-CARE
Don’ts:
Touching, scrubbing, or picking lips
Sweaty workouts or practices for 24 hours
Facials or chemical peels for 2-3 weeks
Direct sunlight and tanning beds for 2 weeks
DO’s:
Drink through a straw for 48 hours
Avoid spicy and salty foods for 72 hours
Use ointments religiously to keep lips hydrated until healed